How to Order a Minecraft Server from OXY.Games
You can get your own Minecraft server online in just a few minutes.
Follow this step-by-step guide — from picking your plan to launching your server.
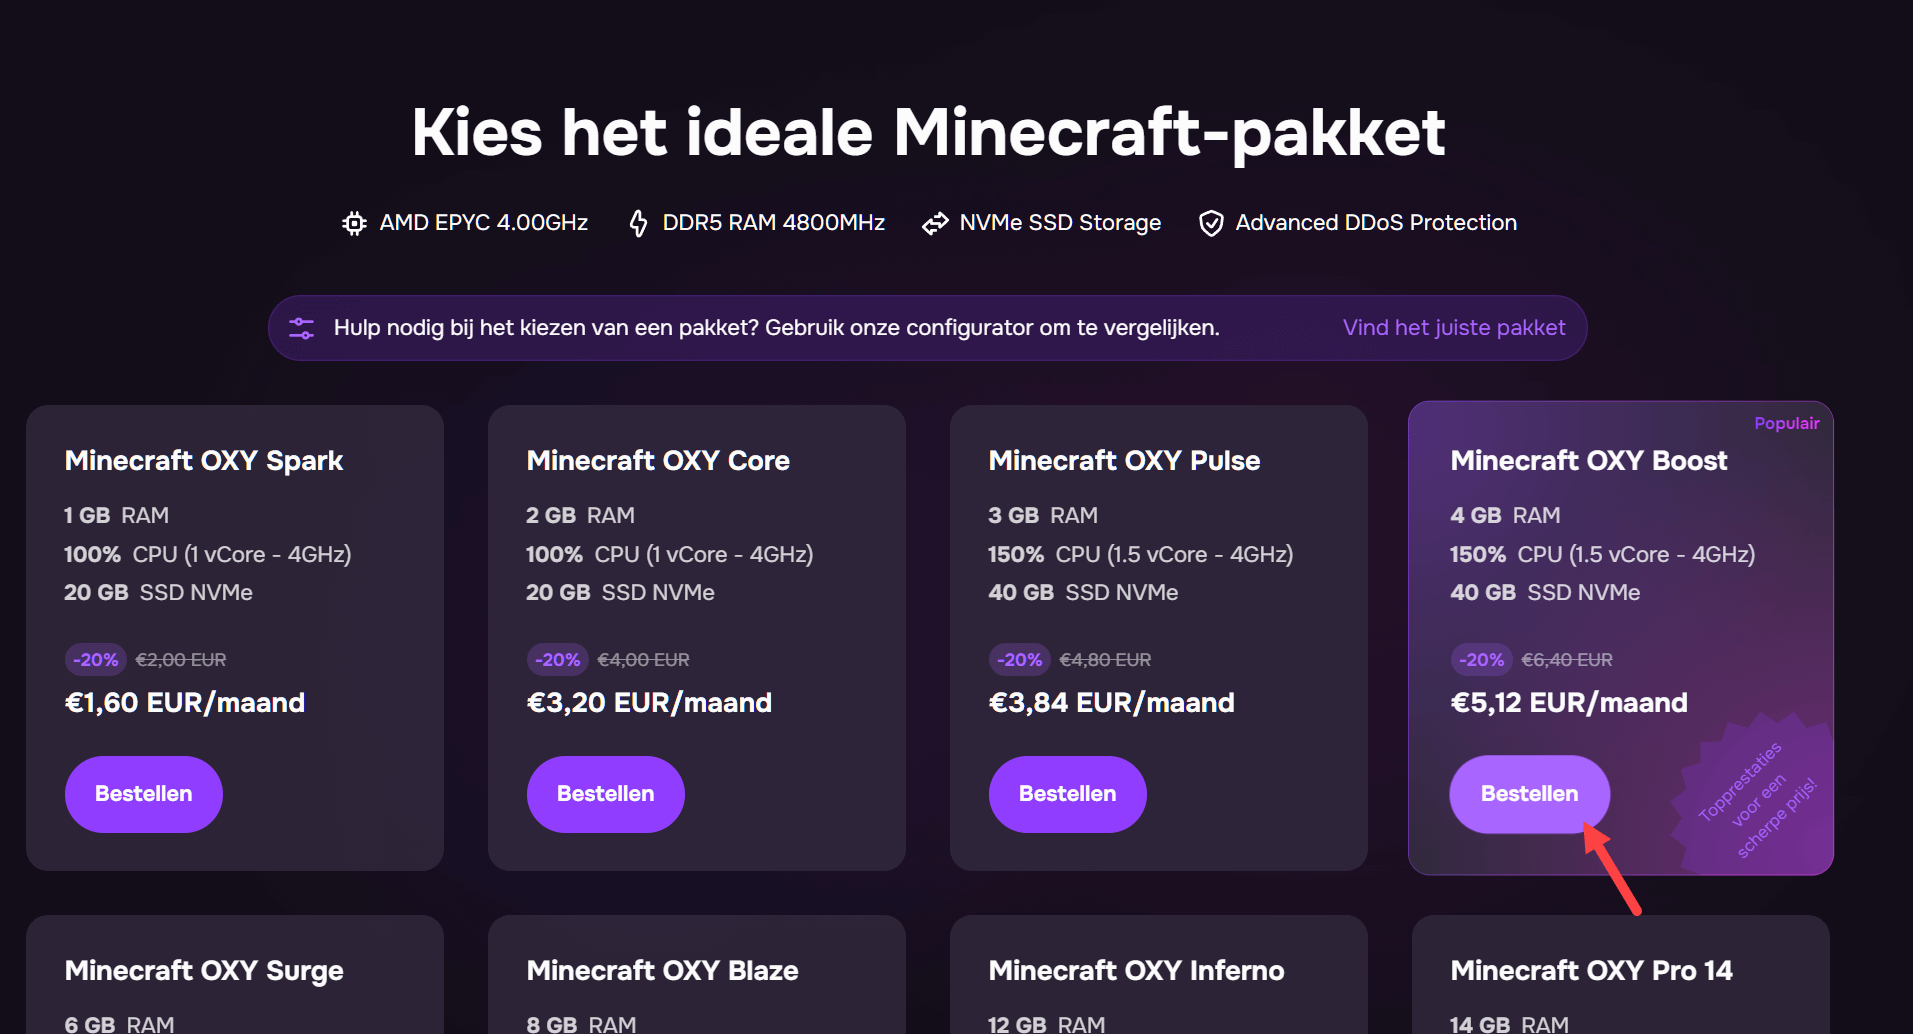
Step 1 – Choose your server plan
Go to oxy.games and select the plan that fits your needs.
Not sure what to choose? Use our server configurator!
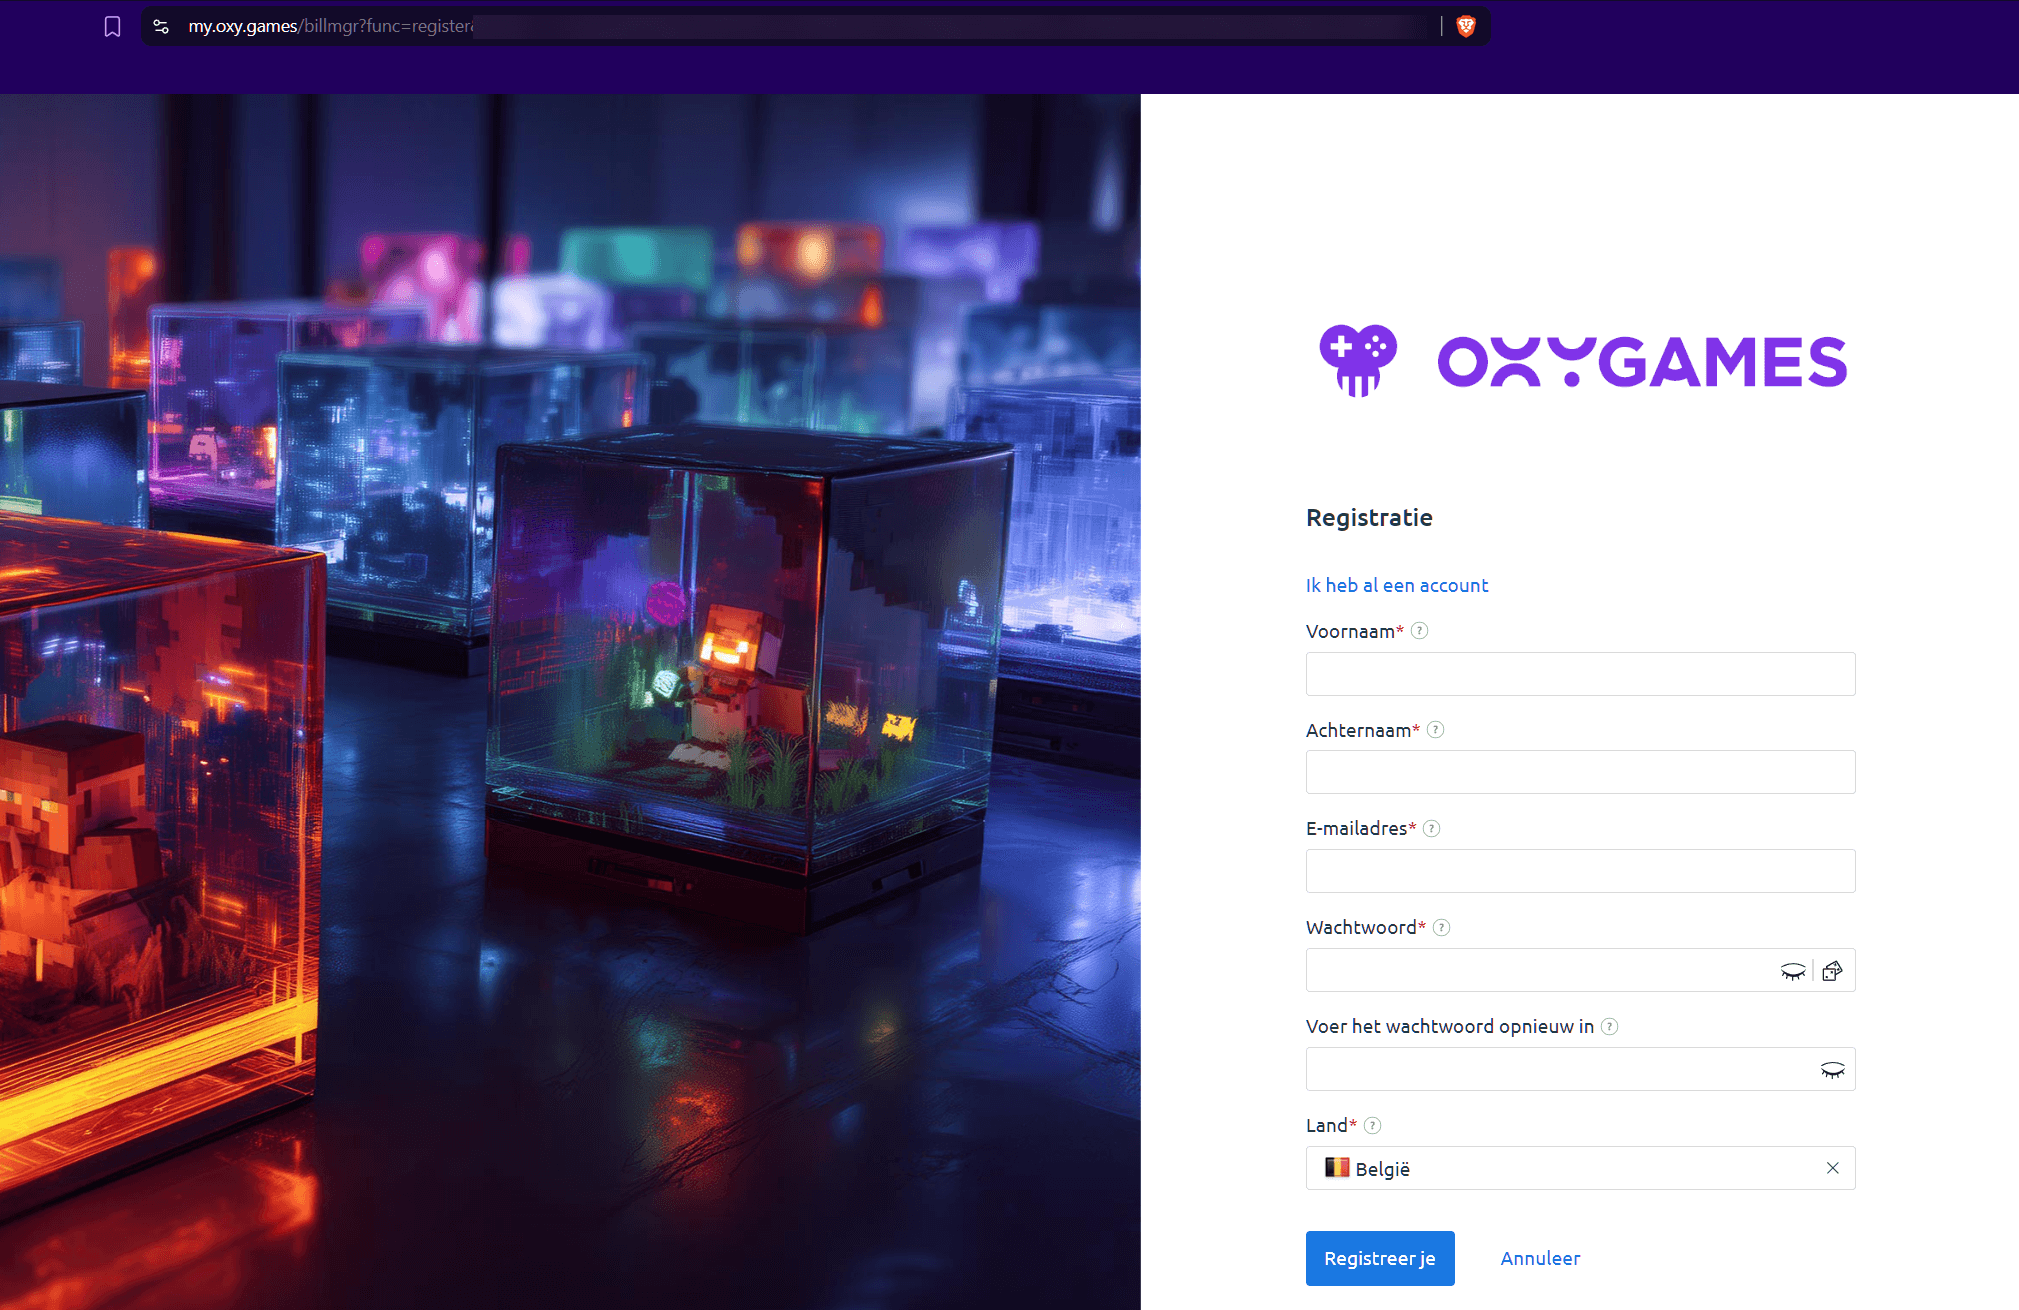
Step 2 – Create your account
New here? Fill in your name, email, and password to register.
Make sure your email is correct — you'll receive important info like activation links, login details, password resets, and support replies.
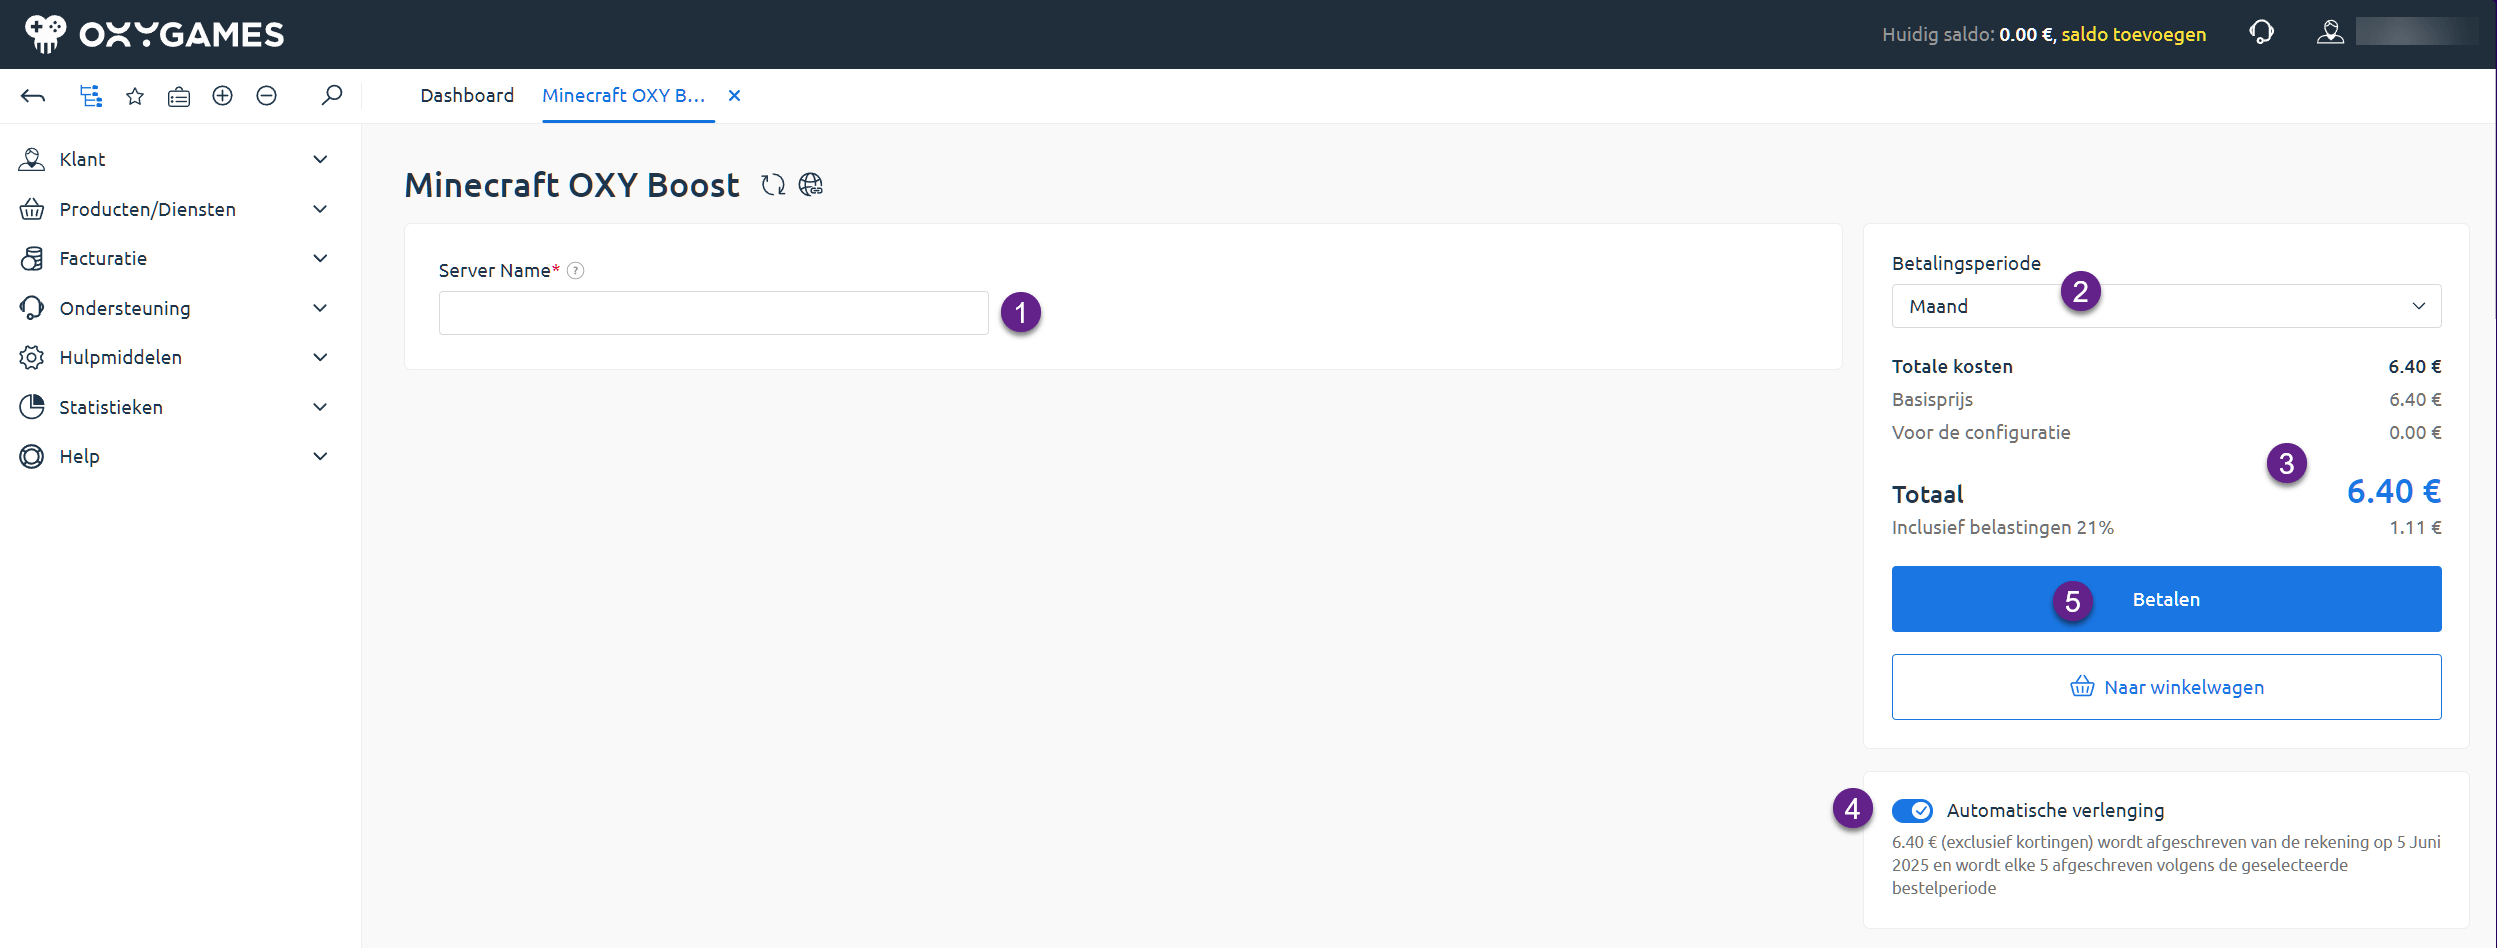
Step 3 – Your shopping cart
You’ll be automatically redirected to your shopping cart.
- Choose a name for your server.
- Select the desired billing period (1 month, 3 months, 6 months, 1 year, or trial).
- See the price breakdown.
- Optionally enable automatic renewal.
- Click Pay.
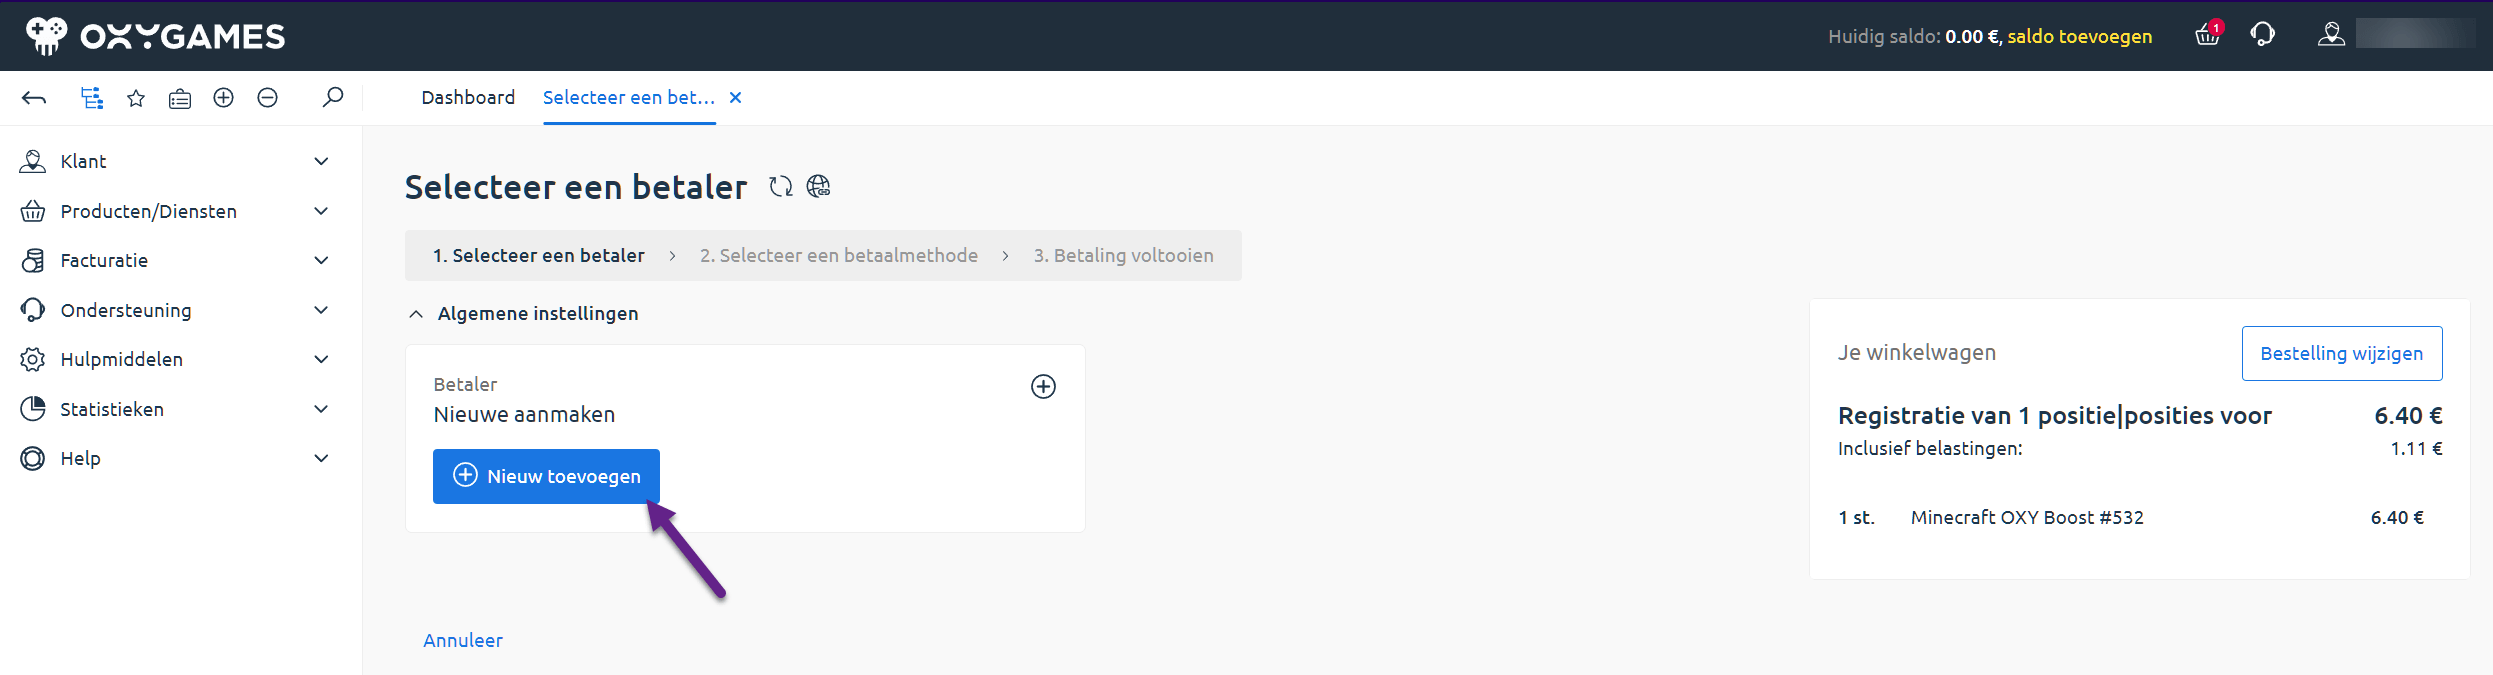
Step 4 – Add a payer
You need to link a payer (billing profile). Click Add New.
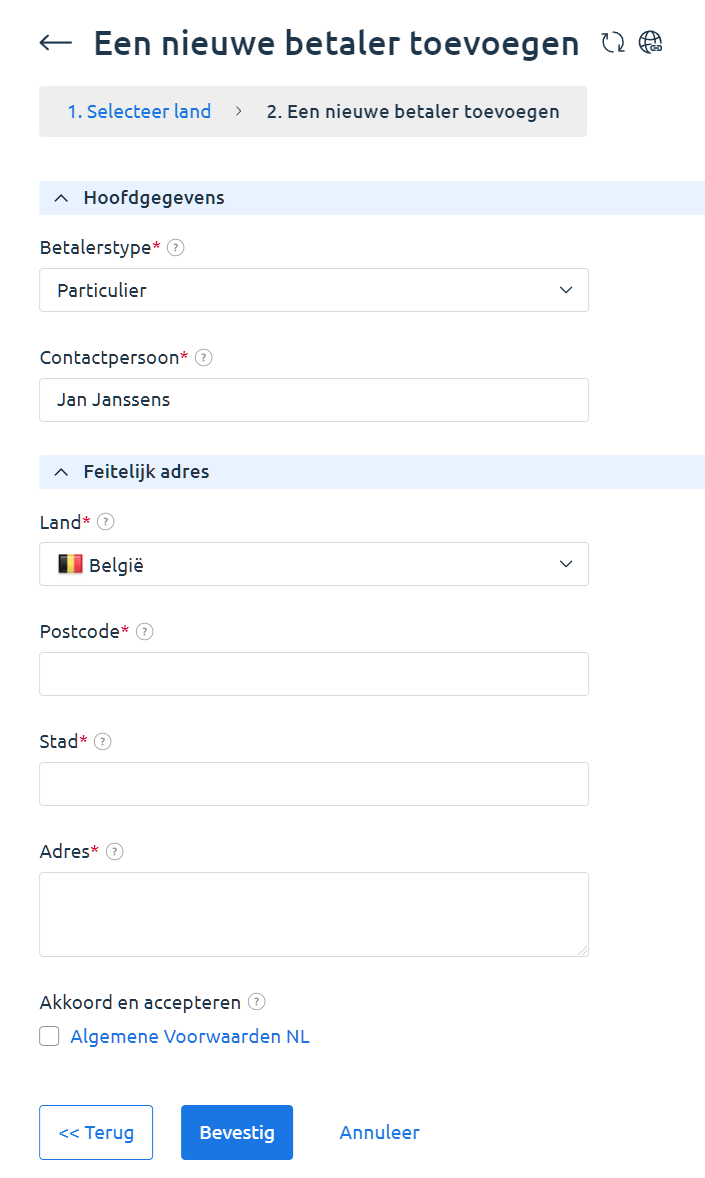
Step 5 – Choose country and type
Select the country of the payer and indicate whether it's a private person or a company.

Step 6 – Enter address details
Provide a valid address.
Why? OXY.Games is a legally registered company in Belgium and must follow local laws. Nobody checks your address, just don’t be weird. 😉
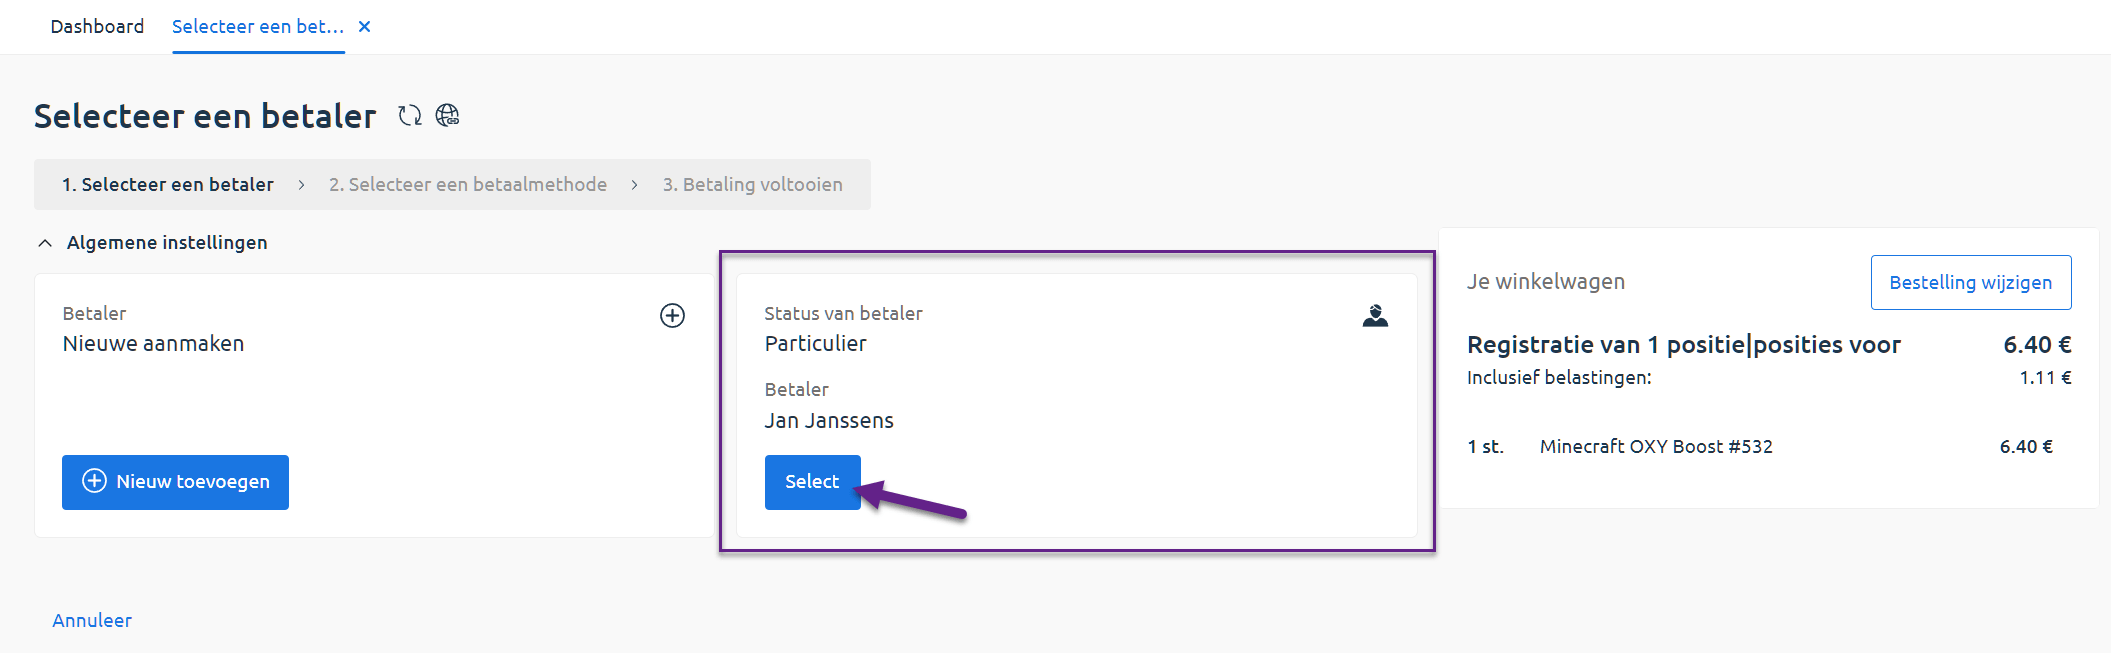
Step 7 – Select the payer
Once added, your new payer will show up. Select it to continue.
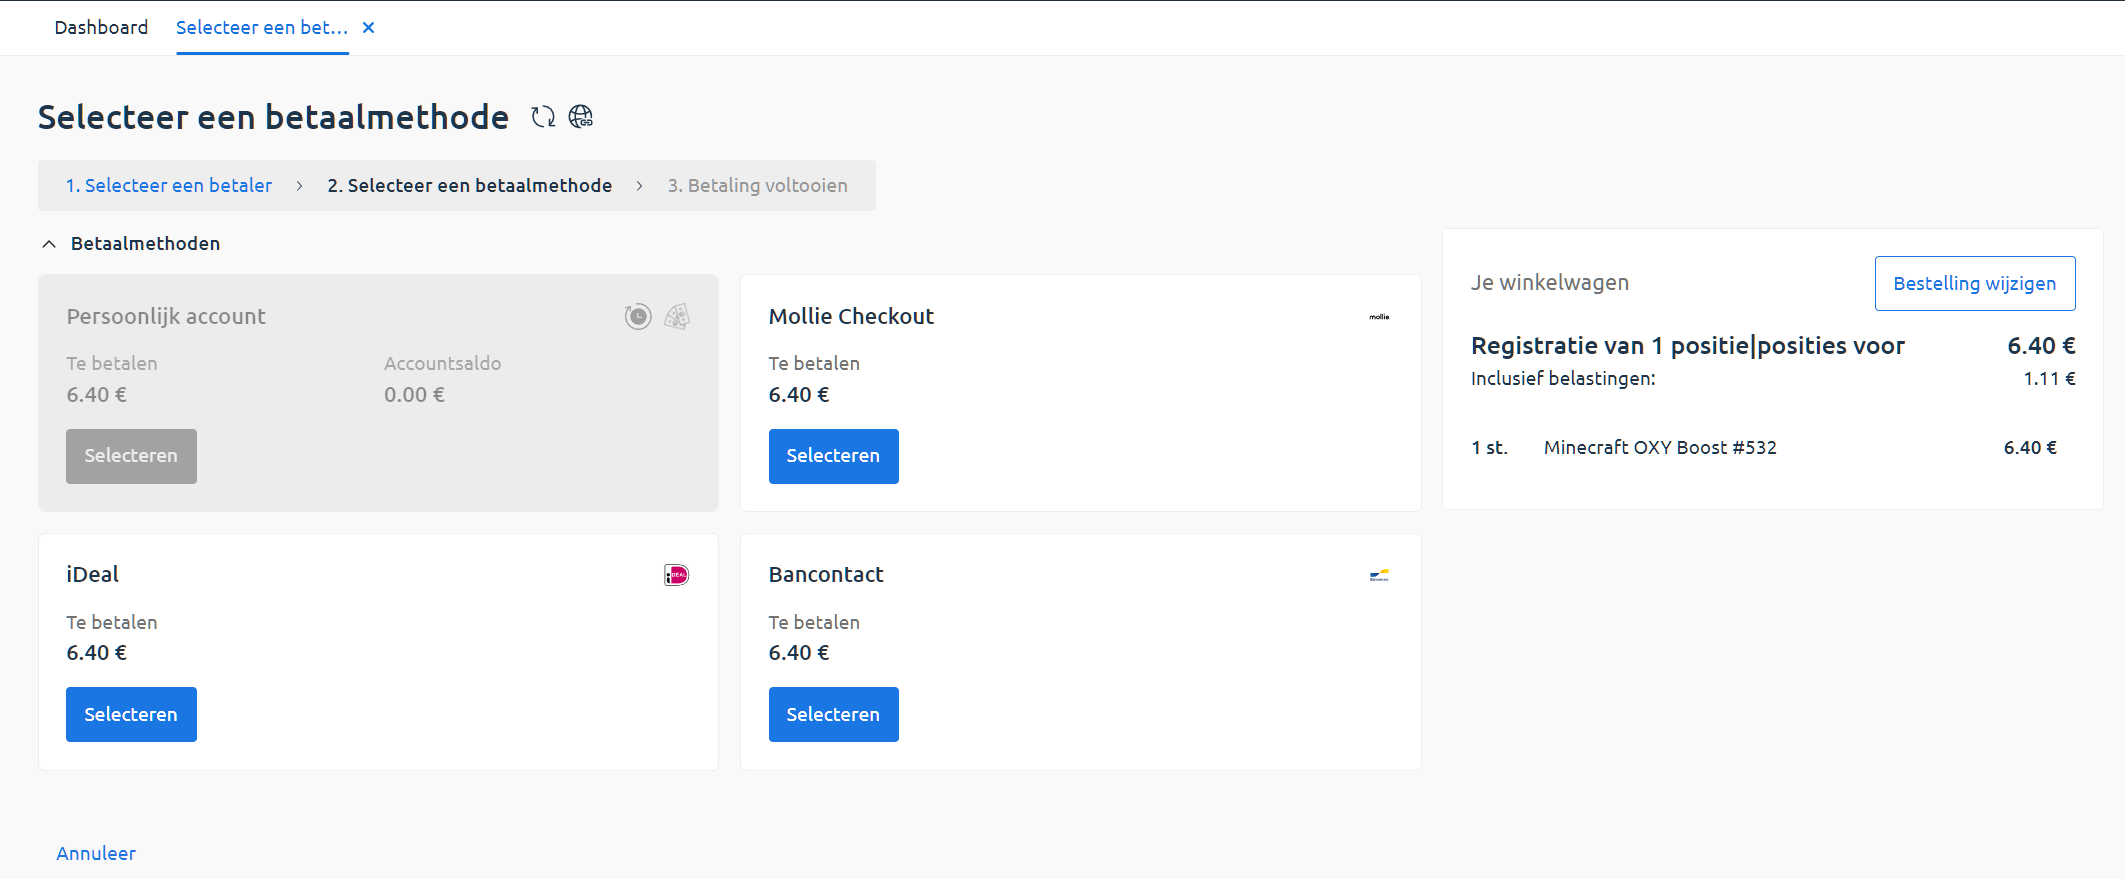
Step 8 – Choose a payment method
Select how you want to pay: Bancontact, iDEAL, Mollie, etc. Then click Select.
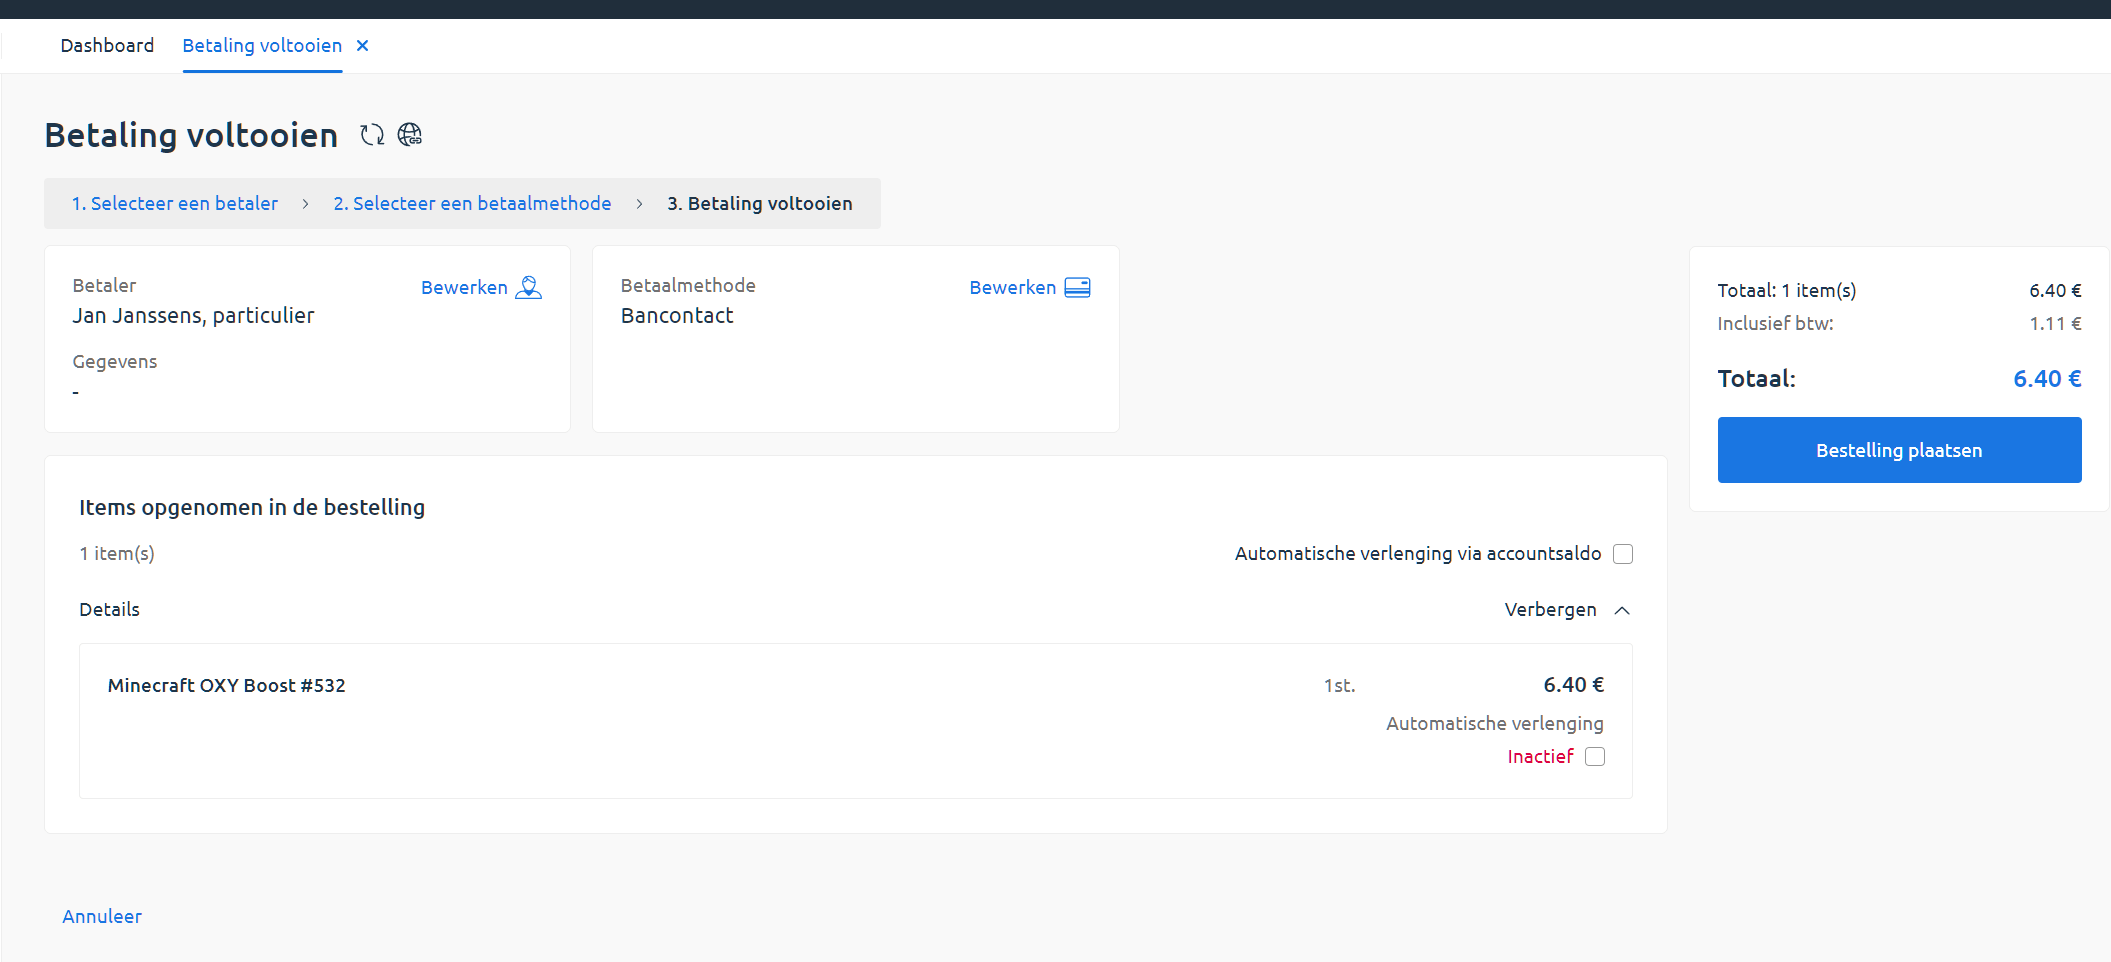
Step 9 – Confirm your order
Review everything. You can still enable auto-renewal here.
Then click Place order.
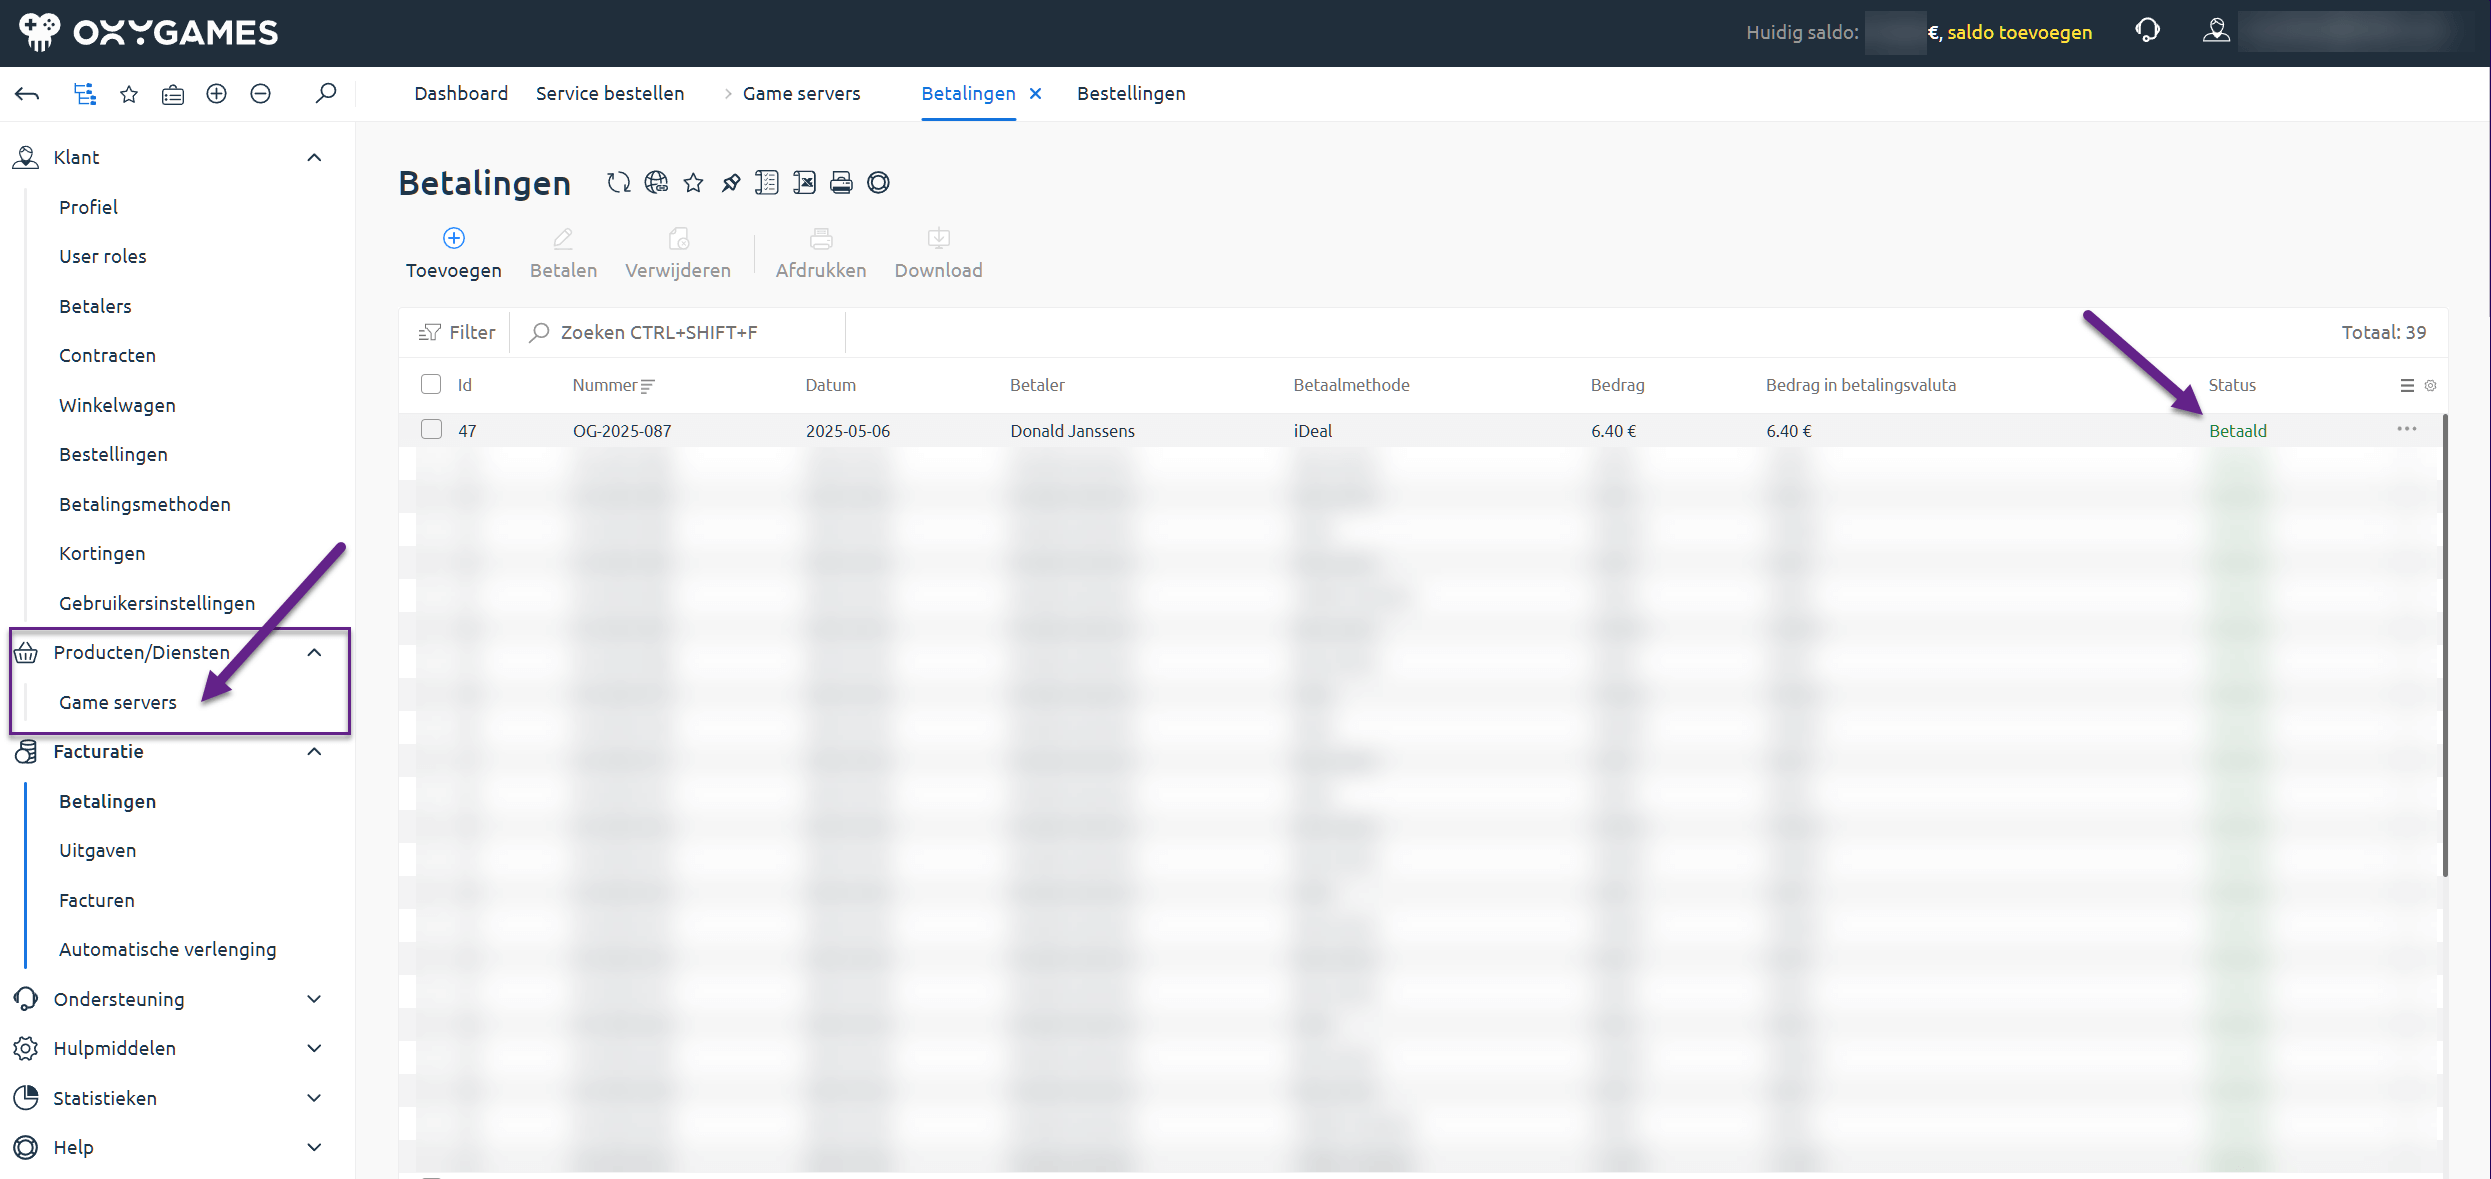
Step 10 – Status: Paid
After payment, you’ll be redirected. In the billing overview, you’ll see the status: Paid.
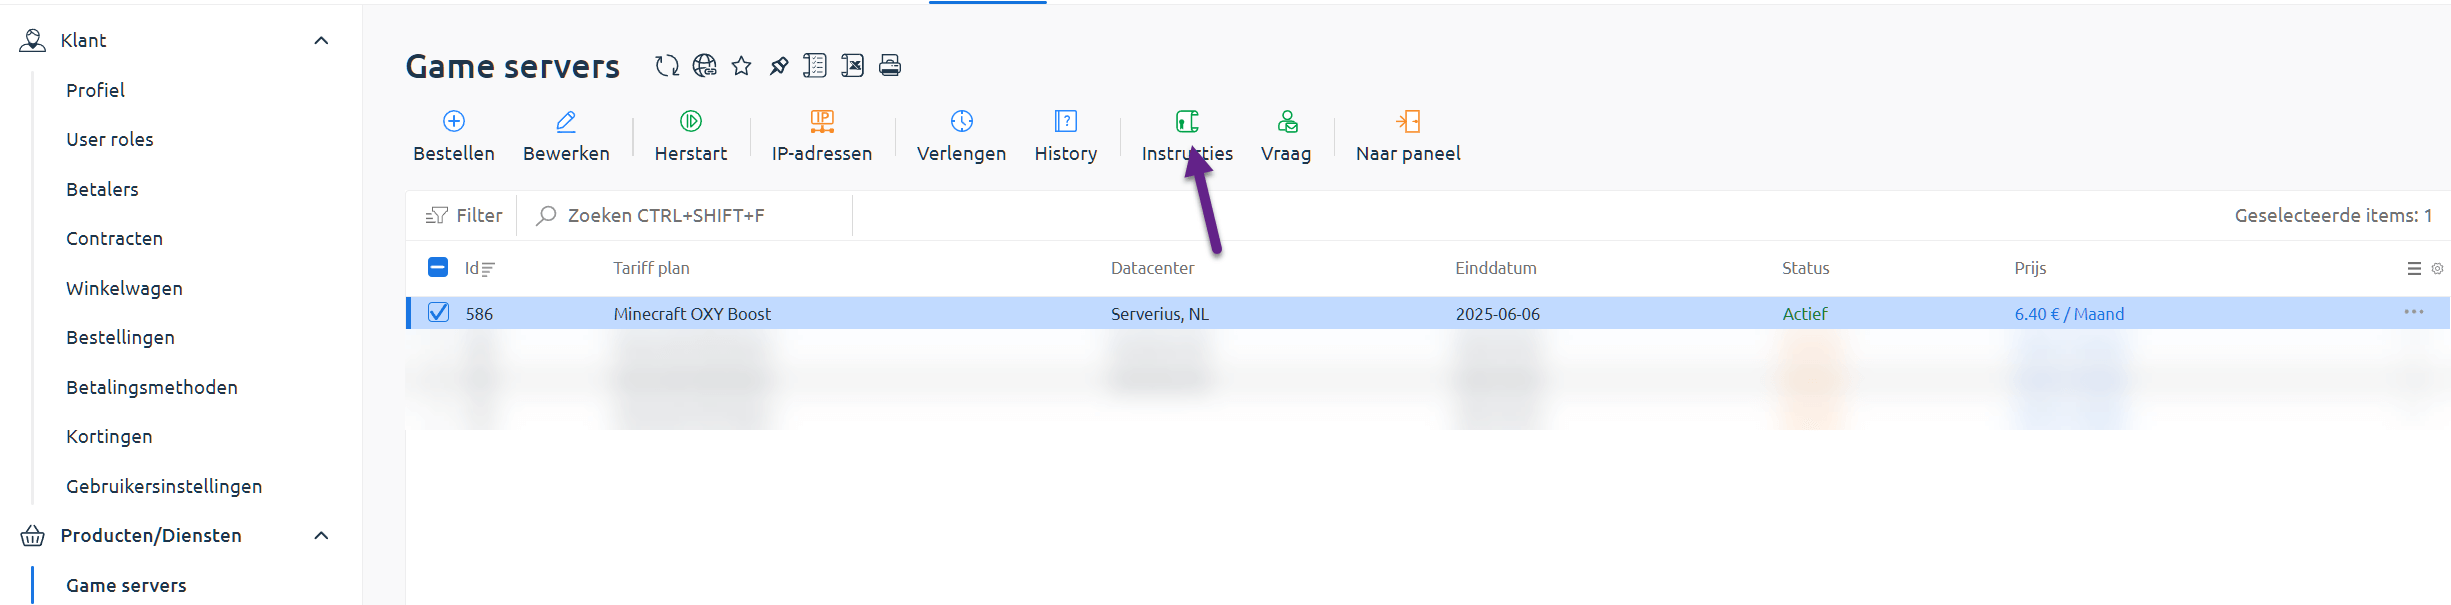
Step 11 – Game server active
From the left-hand menu, go to Products > Game servers.
You’ll see your active server.
Click the row and then click Instructions.
Step 12 – Server details and login
You’ll now see all your important info:
- Your server IP
- Link to the game panel
- Username and temporary password
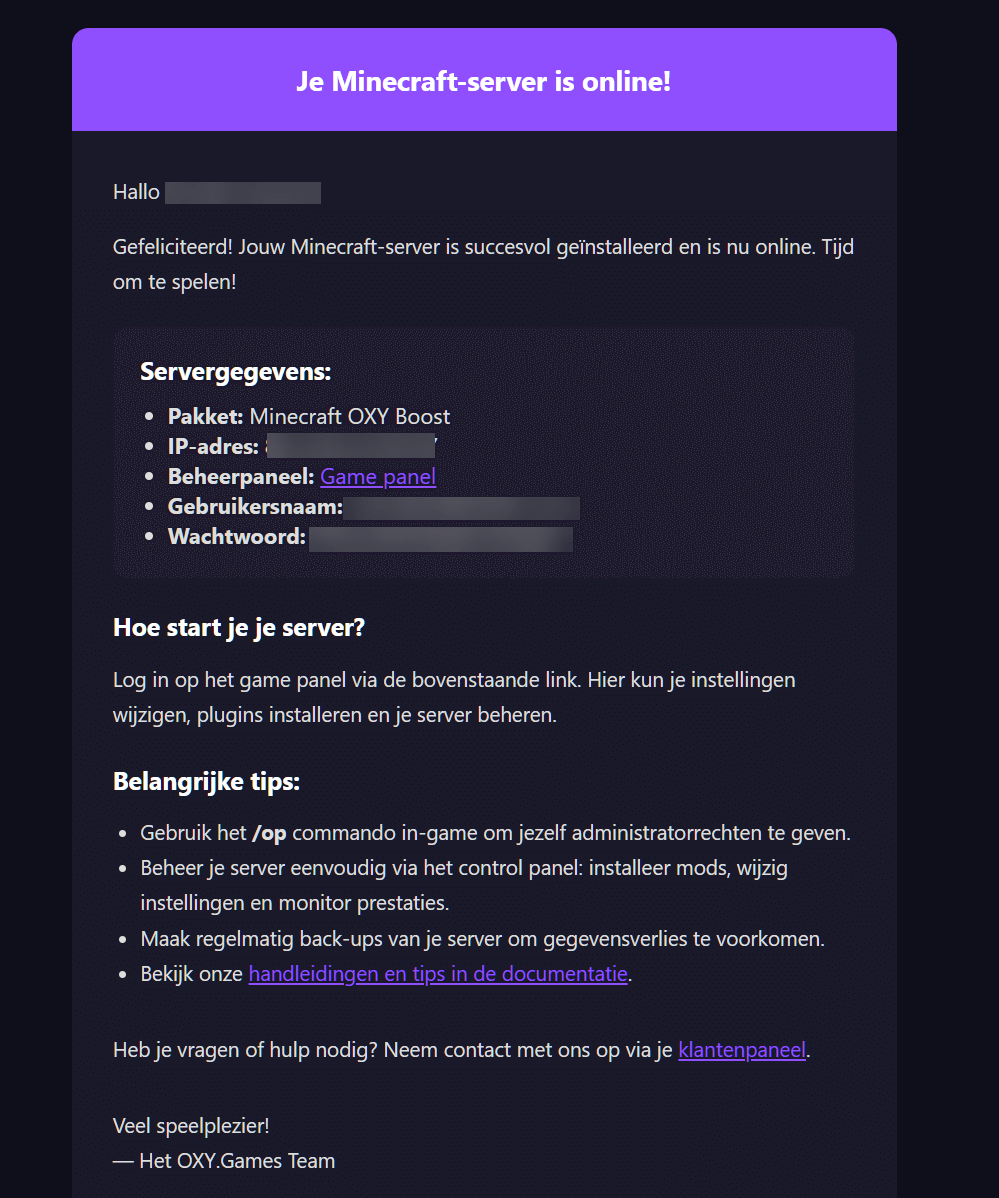
Your server is online!
You’ll also get an email with all your login details.
Time to play! 🎮
🧠 Good to know:
- You can change server settings, install mods, and manage backups via the game panel.
- Need more help? Visit our tutorials.
Got questions? Contact support or message us via Discord.