Managing Files via the Game Panel
The built-in File Manager in the OXY.Games control panel makes it easy to manage your game server files.
This guide shows you how to browse, edit, upload, delete files and more — step by step.
⚠️ Note: The File Manager is ideal for smaller tasks like editing configs or uploading files quickly.
For large files or advanced workflows, we recommend using an SFTP client like FileZilla.
👉 See the SFTP tutorial here
The File Manager has a 100MB upload limit. With SFTP, there is no limit.
Step 1 – Open the File Manager
Click Files in the left-hand menu.

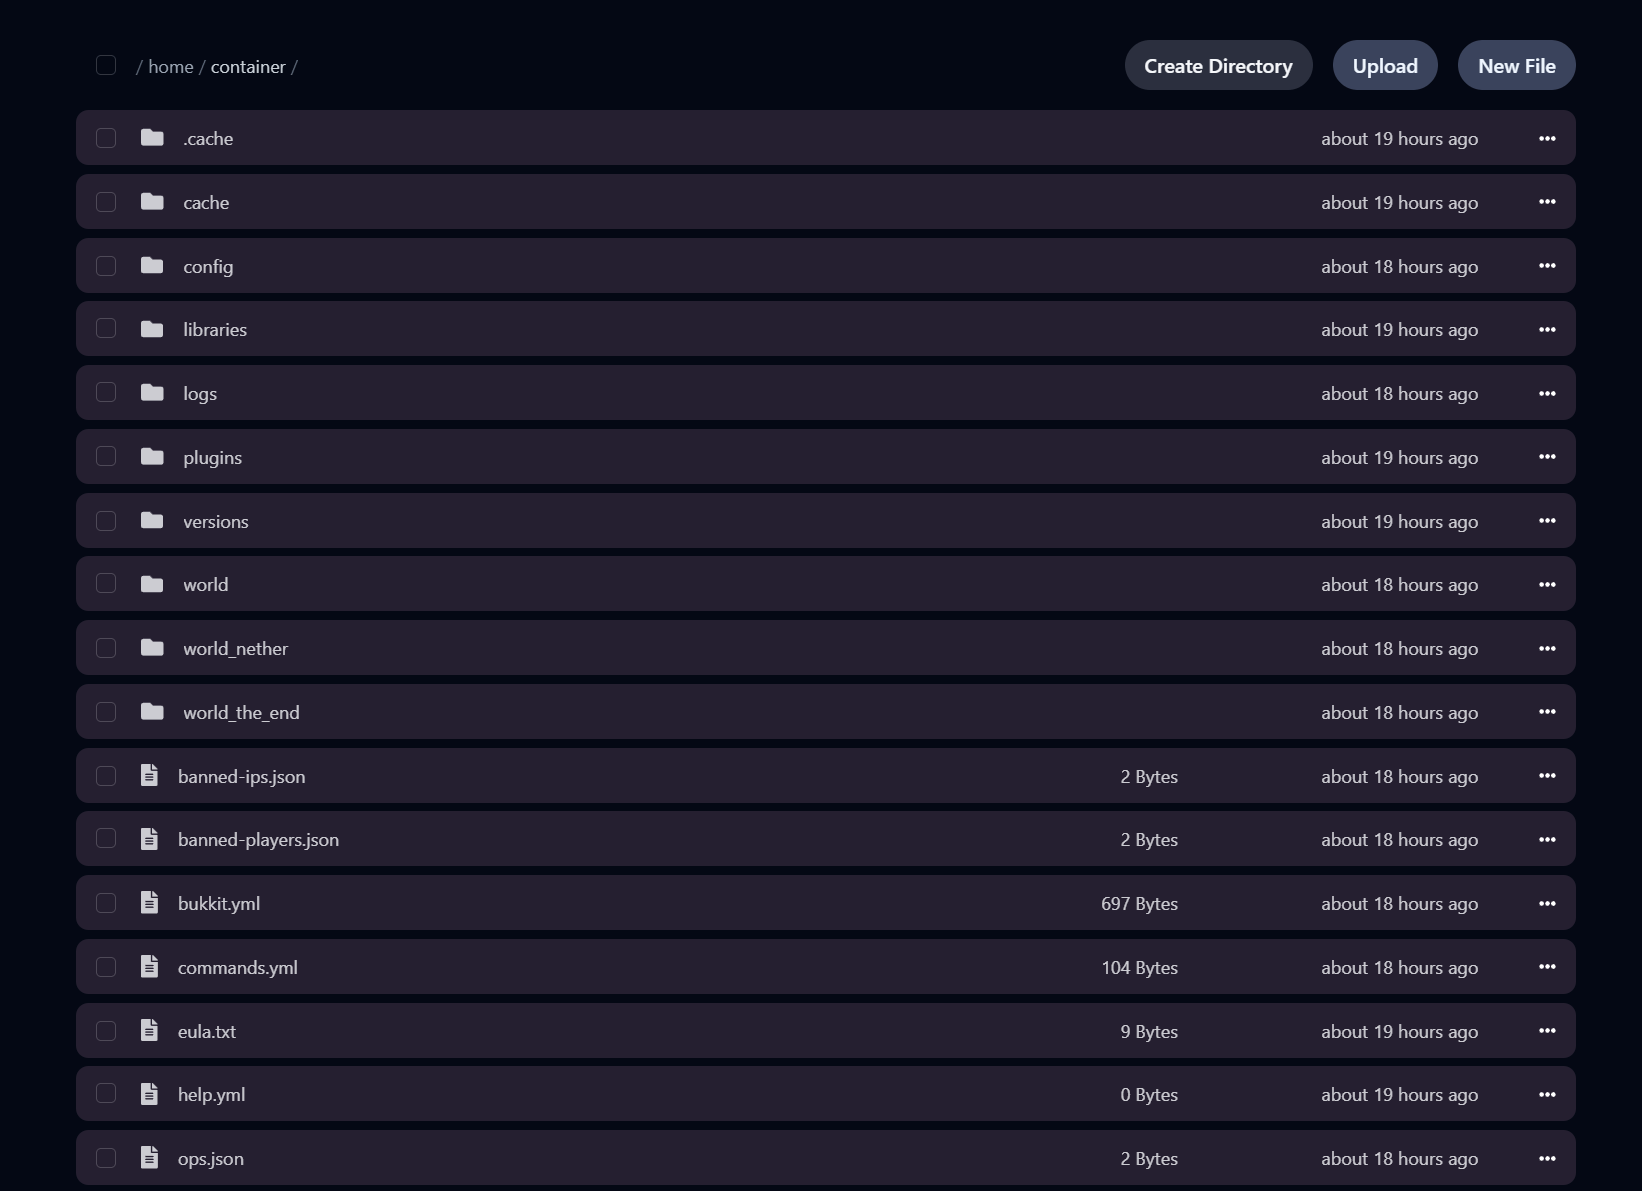
Step 2 – Explore your folders and files
You’ll see the root directory of your server, including folders like world, plugins, and logs, and files like server.properties, eula.txt, and ops.json.
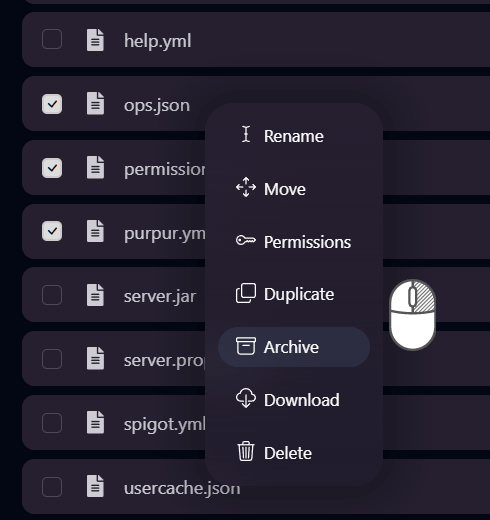
Step 3 – Right-click for actions
Right-click on any file or folder to open the context menu.
Available actions include:
- Rename – Change the file/folder name
- Move – Move it to another location
- Download – Save it to your computer
- Delete – Permanently delete the item
- Archive – Compress into a
.zip - Permissions – Edit access permissions

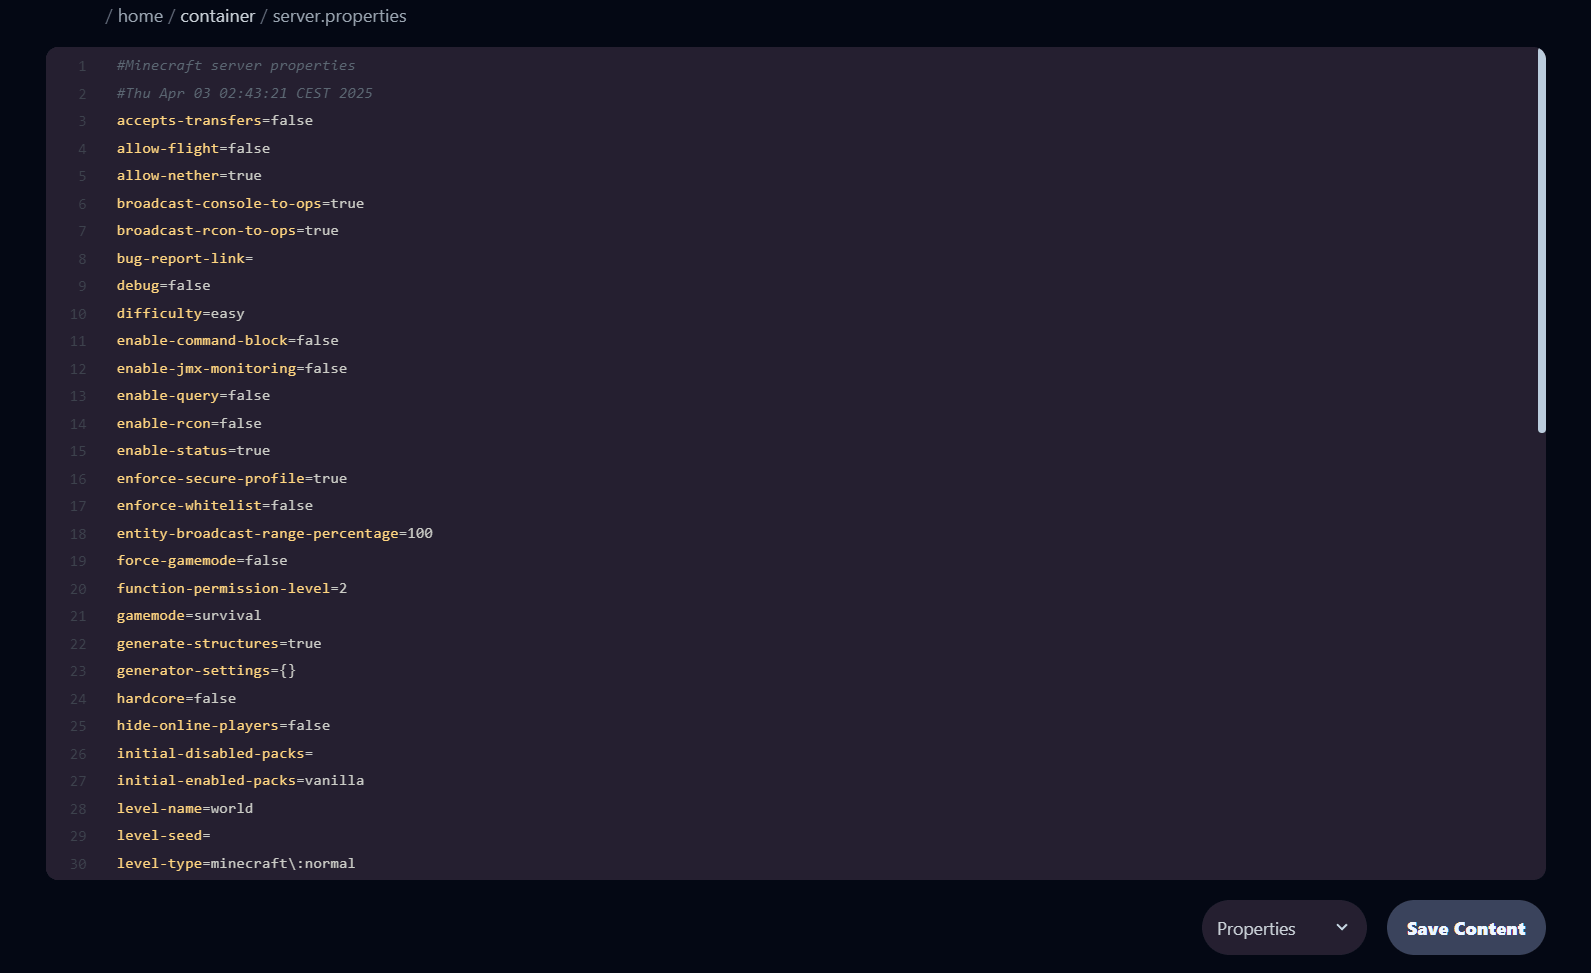
Step 4 – Edit files
Click a file to open it in the built-in editor.
Don’t forget to click Save Content after making changes!
Step 5 – Select multiple files
Use the checkboxes to select multiple files or folders and perform batch actions like download, delete, or zip.
Step 6 – Adjust permissions (advanced)
Use the Permissions action to change file rights (read, write, execute).
This is usually only needed for specific plugins or mods.

All done!
You now know how to manage files using the OXY.Games control panel.
Need to upload larger files or automate uploads?
👉 Use our SFTP tutorial.