Project Zomboid Admin Guide
Deze inhoud is nog niet vertaald.
Hey fellow survivors!
Ready to take control and run your Project Zomboid server like a pro?
As an admin, you’re in charge: tweak gameplay, keep it challenging, and maintain your server like a boss.
Here’s your short but powerful cheat sheet to activate your admin powers:
🛠️ 1. Open the Control Panel
Section titled “🛠️ 1. Open the Control Panel”Go to your server management area:
👉 panel.oxy.games
⏹️ 2. Stop the Server
Section titled “⏹️ 2. Stop the Server”First, stop your server to safely change the settings.

🚀 3. Go to the Startup Tab
Section titled “🚀 3. Go to the Startup Tab”Click on the Startup tab to access and change your server’s launch settings.
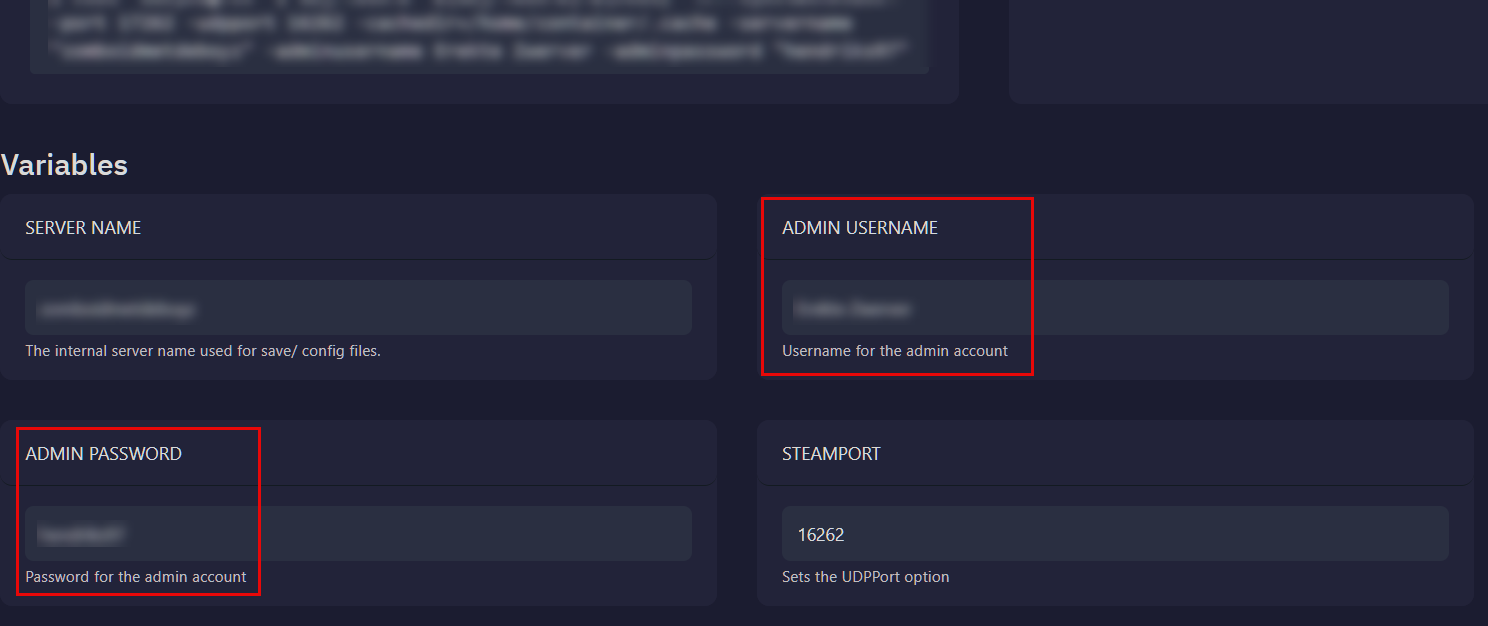
🧙 4. Choose Your Secret Identity
Section titled “🧙 4. Choose Your Secret Identity”Set your own Admin Username and Password.
Make sure it’s unique, secure, and something you’ll remember.
▶️ 5. Restart the Server
Section titled “▶️ 5. Restart the Server”Click Start to launch your server with your new admin settings.
🎮 6. Join the Server
Section titled “🎮 6. Join the Server”Launch Project Zomboid and click Join from the main menu.
🔐 7. Log in as Admin
Section titled “🔐 7. Log in as Admin”Use the admin credentials you set earlier (see step 4) to enter your server as the ruler of the apocalypse.
✅ Done!
Section titled “✅ Done!”You’re now officially the Admin of your own server.
Adjust settings, manage players, and keep things running smoothly.
👑 Ready to survive & rule the apocalypse?
Have fun! – The OXY.Games Team