Installing Plugins on Your Minecraft Server
Plugins let you expand your server with useful features, extra commands, optimizations, and more.
⚠️ Important Before You Start
Section titled “⚠️ Important Before You Start”Plugins only work with specific types of Minecraft server software:
- Spigot or Paper – the most popular platforms for plugins
- Purpur, Pufferfish – optimized forks with more features
⚠️ Plugins do not work on Vanilla or Forge unless explicitly supported.
Step 1 – Open the Plugins Menu
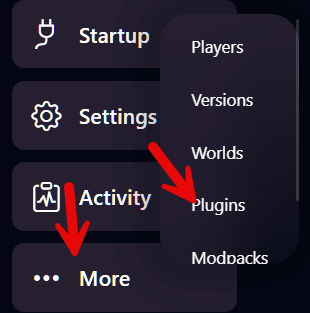
Section titled “Step 1 – Open the Plugins Menu”In the left-hand menu, go to More → Plugins
Step 2 – Choose a Provider
Section titled “Step 2 – Choose a Provider”Select a plugin provider at the top, such as:
- SpigotMC – classic, largest library
- Modrinth – modern & open-source
- CurseForge – known from mods and modpacks
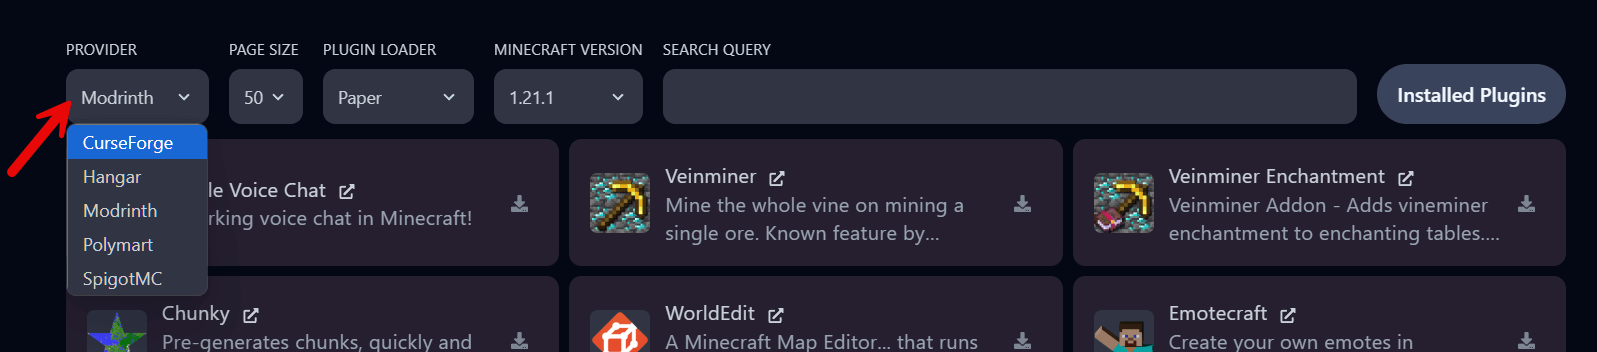
In this example, we use Modrinth for version 1.21.1 with the Paper loader.
Step 3 – Search and Install a Plugin
Section titled “Step 3 – Search and Install a Plugin”We’re installing Teak’s Tweaks — with 150+ toggleable tweaks (like disabling mob griefing).
Click the download icon.

Step 4 – Confirm Installation
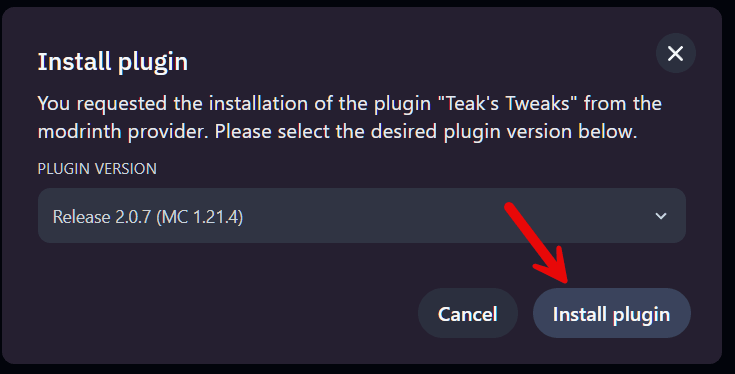
Section titled “Step 4 – Confirm Installation”Select the correct version and click Install plugin.

Step 5 – Check if the Plugin Is Active
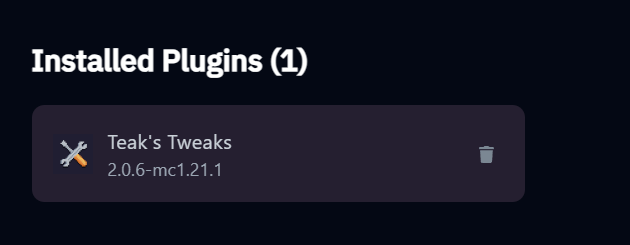
Section titled “Step 5 – Check if the Plugin Is Active”Click Installed Plugins in the top-right.

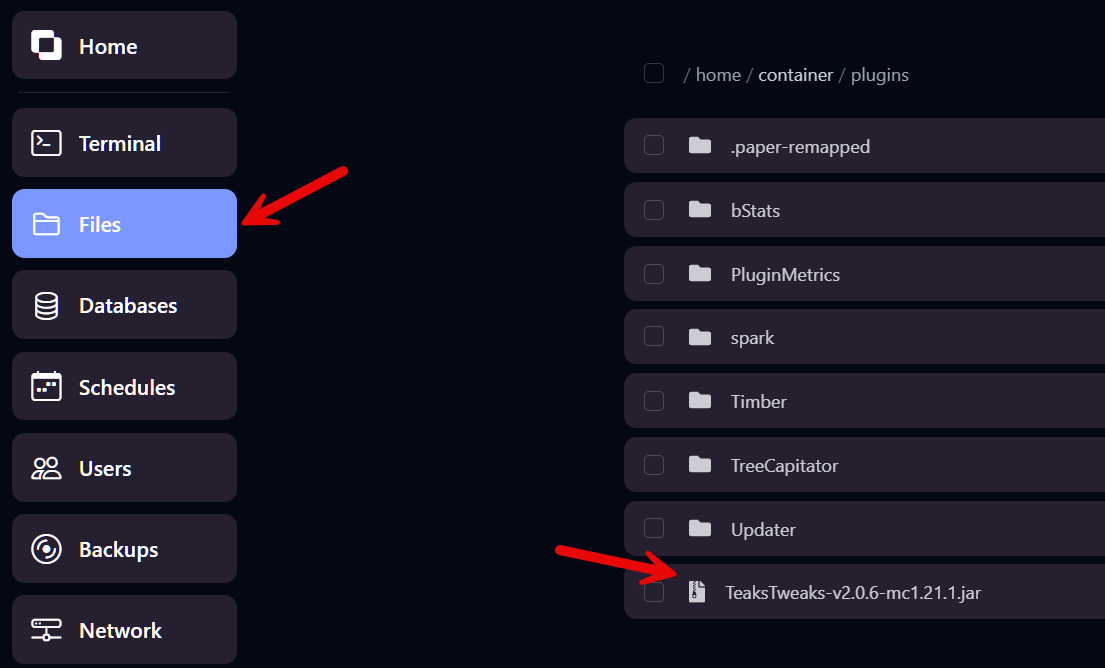
Step 6 – Locate the Plugin Files
Section titled “Step 6 – Locate the Plugin Files”Go to Files > folder /plugins
Extra: Plugin Configuration
Section titled “Extra: Plugin Configuration”- Some plugins create a
config.ymlfile - For permission control: use a plugin like LuckPerms
- Plugins that use ports (like Dynmap or voice chat) → request a port via support
💬 Need help? Visit our support section or join us on Discord!